How to Configure a User
- Configuring a user
- Select the Users folder in the Application Explorer configuration tree and, from the task list, select Add a user. A dialog to configure a new user will open.
 Show picture
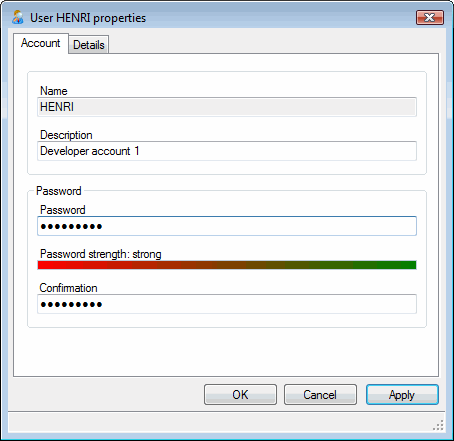
 - Enter a name for the user. The name is used when logging on using the User Account. The name is limited to 20 characters.
- Enter a description of the user. The description appears in the contents pane when the Users folder is selected. The description is optional.
- Enter the password and password confirmation. For information on choosing a password, see the topic Choosing a strong password.
- Select the Users folder in the Application Explorer configuration tree and, from the task list, select Add a user. A dialog to configure a new user will open.
- Entering optional user details.
- Select the Details tab. The following properties, all of which are optional, are available.
- First and last name. The first and last name are concatenated to form the read only property Display name.
- Title - The User's title, for example Professor. The Title replaces the Role property, which was part of the user's configuration prior to version 9.0. For compatibility with Windows domain user groups, the Role property is now part of the Profile configuration.
- E-mail address - The e-mail address can be used when sending a message using an event.
- Mobile phone number - The mobile phone number can be used when sending a message using an event.
- Click Apply to create the user and leave the dialog open or OK to create the user and close the dialog.
Many of the properties from the Details tab are also available in System variables. The Display Name and Title are also displayed in the dialog opened by the Security - User Information animation.