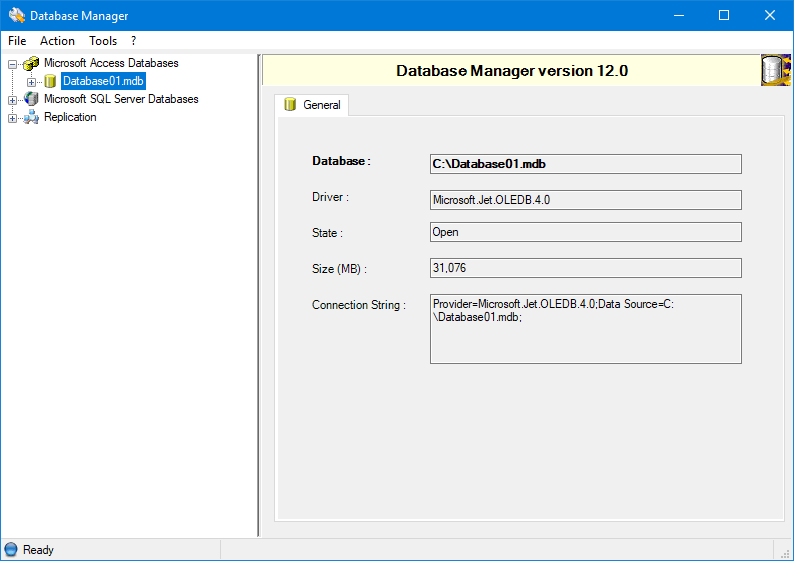
Displaying the Properties of a Database
You can access the properties of a database from the
tree structure in the Database Manager in these ways: ![]() Show picture
Show picture
- Click on the database's name then select Action.Properties from the main menu.
- Right-click on the database's name to open its context menu, then select Properties.
The properties are displayed in the right-hand pane. This is the default function when you select a database in the tree structure. For both types of database, Access or SQL Server, the right-hand pane shows:
- A General tab to display general properties.
In the case of a SQL Server database, there are two more tabs:
- A Files tab to list each file (data or log) and its properties.
- An Options tab to display and modify options.
On the General and Files tabs, you can use the context menu (by right clicking on a cell) to copy a value.
The only properties that can be set from the Database Manager are those on the Options tab.
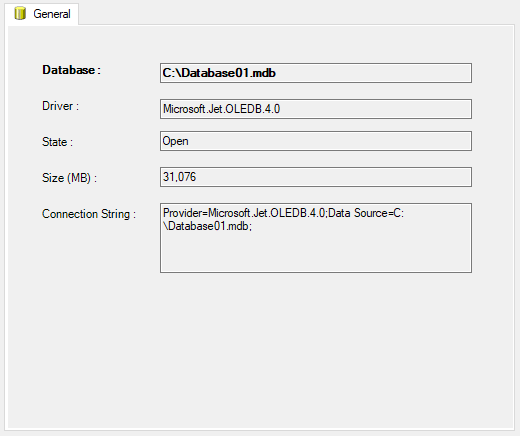
General properties
The details identify the database, driver and manner
of connection, plus current state and size. ![]() Show picture
Show picture
The SQL Server version has some extra fields. ![]() Show picture
Show picture
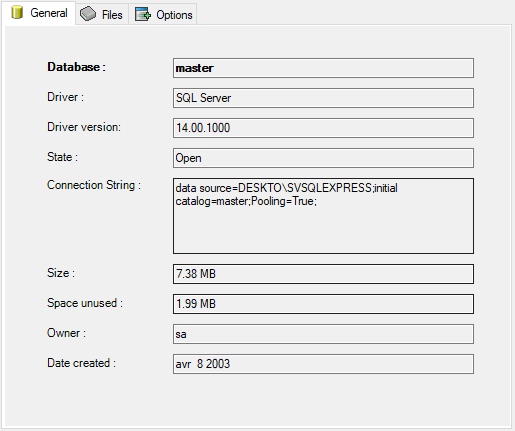
For a SQL Server database, the value Space Unused shows the disk space occupied by deleted records. A high value indicates the need to shrink the database to release that space.
File properties (SQL Server database)
You can use the horizontal scroll bar, and/or adjust column widths, to view all of the columns.
A database consists of two files: ![]() Show picture
Show picture

- A file of data.
- A log file that traces all actions performed on the database.
For each file, this tab shows details of its location and size.
Space is allocated to a database in increments as required. The Growth figure indicates the steps to be used, so 10% means that when the database has grown by 10%, another 10% is added to allow for further expansion.
Options properties (SQL Server database)
The property under Recovery determines whether the SQL
Server periodically purges the log file of actions on this database. To
cause the SQL Server to do so: ![]() Show picture
Show picture
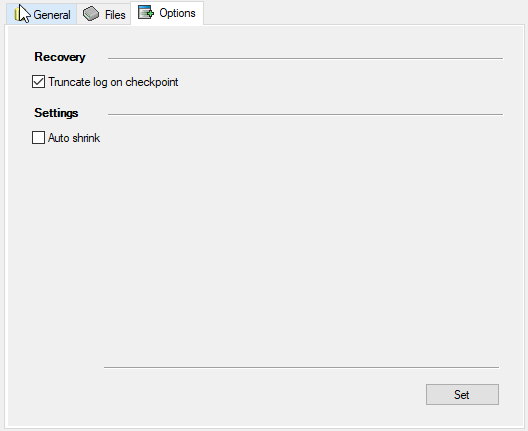
- Tick the property Truncate Log on Checkpoint.
A checkpoint occurs when the SQL Server's internal timer triggers an action on its databases.
The Auto Shrink setting should be kept un-ticked so that database shrinking is controlled by the Scheduler, not the SQL Server.