How to Add an Existing Library
Adding an existing library is necessary when setting up a new computer to run PcVue and project that is using libraries not in the standard distribution. Such libraries, perhaps developed in-house, or from an earlier version of the software, must be explicitly added to the newly installed computer.
See also the topic Backing up and restoring projects and libraries.
Local libraries
The folders that make up a local library are found under the LIB folder that is part of the project folder structure. If you copy the project to another installation of PcVue, nothing needs to be done to add the libraries. The libraries will automatically appear, along with their contents, in the Libraries Management dialog.
Shared libraries
The folders that make up a shared library are found under the LIB folder located at the same level as the Bin folder. If you copy a project that is using a shared library to another installation of PcVue, you must use the following procedure to make the library contents available (if it is not already present).
- Copy the library folder and contents from the original location, or from the temporary location where you have restored a backup, to the new installation's LIB folder in the project root. You must copy the entire folder including all its sub folders (3D, B, P, S etc.). In the following example, the library folder is called MyLib.
- Start PcVue and open the Application Explorer.
- Navigate the configuration tree and select the Shared Libraries node.
- Start the task Add an existing shared library. The Shared library creation dialog opens.
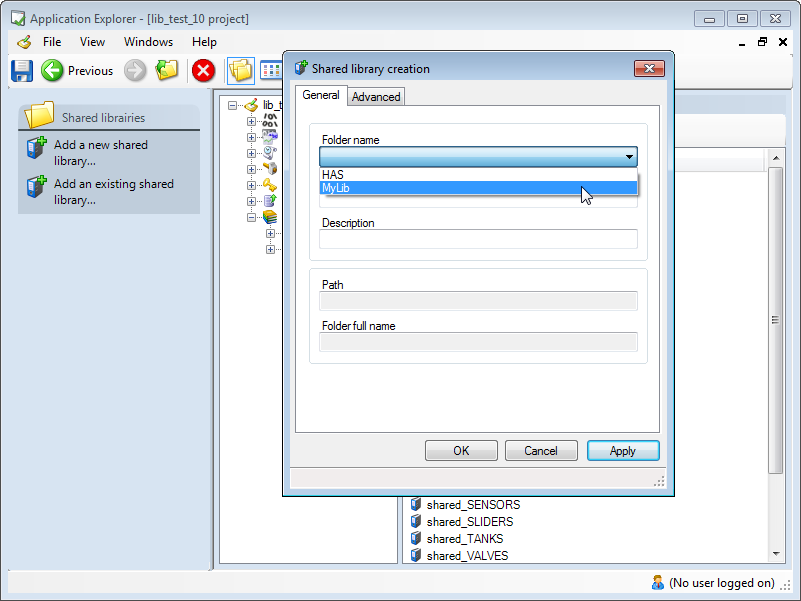
- Click the Folder name drop down list box. In it will appear a list of library folders that the Application Explorer has found, but are not yet configured in the project.
 Show picture
 - Select the relevant library.
- Enter the optional Label and Description. The label is the identity of the library within the project. If you do not enter a label, the library folder name will be used.
- Click OK to confirm the configuration and close the dialog. Note that the Path and Full folder name properties are automatically generated by the Application Explorer.