Managing authorizations
Authorization shows you and let you control client apps authorizations and manage app users' OAuth grants and tokens. It is the configuration of the Authorization service.
In this context, the term Client designate a web application that is to be a client of the Authorization server, i.e. using the authorization infrastructure to be granted access to a given web service in the name of the user.
All web & mobile applications delivered with PcVue are automatically registered, you do not need to add them manually.
How to add a new client app
The New client view is used to register a new (custom) client application that is to be managed by the WDC. This action is important so that this new client can integrate itself in, and take advantage of, the Authorization server infrastructure.  Show picture
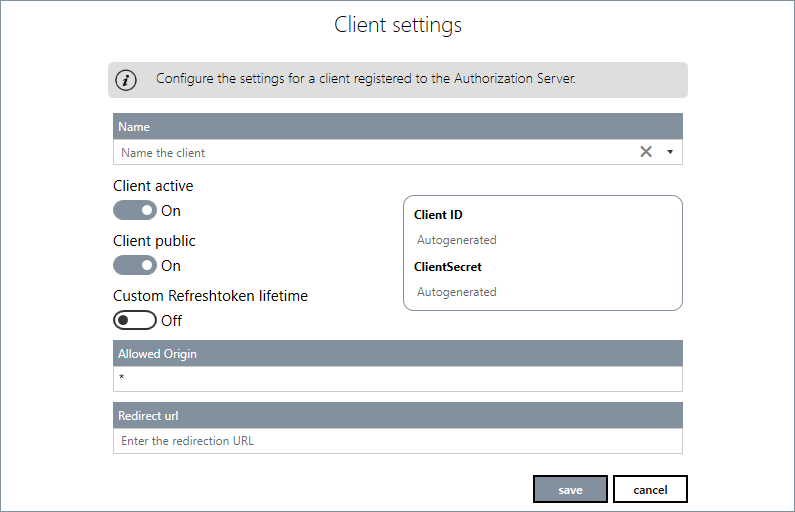
- Name - The name of the client app. In the case of PcVue, the Name is the same as the ID.
- Client active - Can be set to Off for a client that is not currently in use but you do not want to delete. The default is Active. If Off, the Client application will be refused any request for delegation of an authorization.
- Client ID - The ID received after registering a client app with the OAuth server. The ID is considered be public information. In the case of PcVue, the product name, WebVue, TouchVue... is used as the ID.
- Client Secret - The Secret received after registering a client app with the OAuth server. The client secret must be kept confidential.
- Client public - Specifies if the client app is confidential or public.
- Custom refresh token lifetime - The lifetime in minutes of the long-lived token used when renewing the expired access token. Range 0 to 2147483647 minutes. The default is 10080 min.
- Allowed origin - the domain origin from which clients are allowed to make requests. A list of domains, separated by commas, can be used. The default of * means any domain origin is allowed.
- Redirect Url - The service will only redirect users to the registered Url, which helps prevent some cyber-attacks. Any HTTP redirect Urls must be protected with TLS security, so the service will only redirect to Urls beginning with HTTPS. This prevents tokens from being intercepted during the authorization process. Native apps can register a redirect Url with a custom Url scheme for the application, which may look like demoapp://redirect.
- Authorization Code Flow - If enabled, the OAuth service accepts authorization requests based on the OAuth Code Flow.
- Authorization Code Flow with PKCE - If enabled, the OAuth service accepts authorization requests based on the OAuth Code Flow with PKCE. Default for WebVue and the WebScheduler clients.
- Resource Owner Password Credentials Flow - If enabled, the OAuth service accepts authorization requests based on the OAuth Owner Password Credentials Flow. Default for TouchVue, SnapVue and the EmVue clients.
- Save - Save the settings and close the view - If enabled, the OAuth service accepts to process authorization based on the OAuth Code Flow.
- Cancel - Close the view without saving the settings.
The Resource Owner Password Credentials Flow implies security risks such as credential exposure and should only be used with trusted clients.
Well-known clients such as EmVue can be selected directly from the combo-box, and all settings are configured automatically.
Clients view
View the clients that are registered with the OAuth service. Selecting Clients opens a pane from where a list of the registered clients are displayed .Show picture
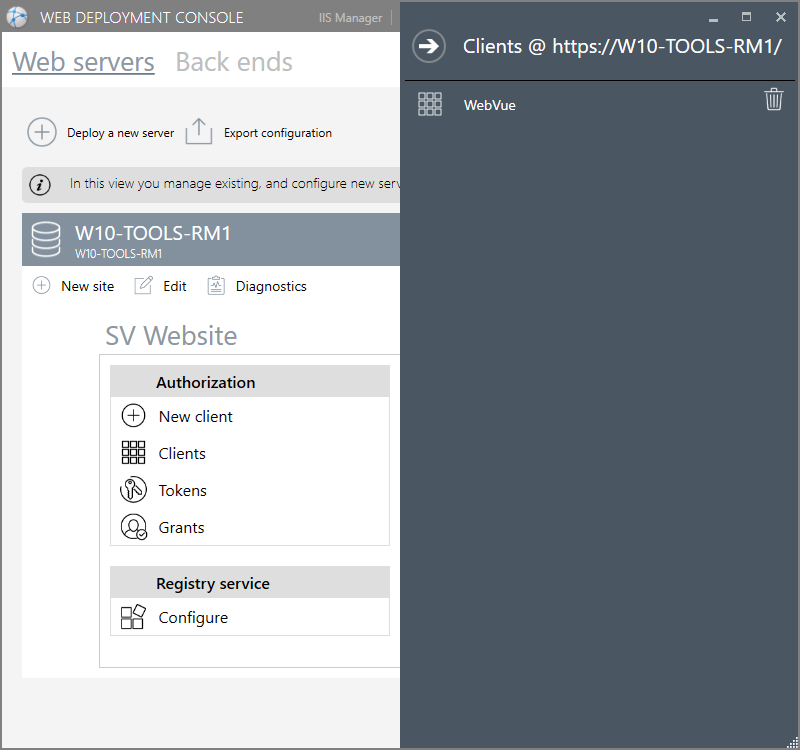
To view the settings for a particular client click on its name. The following screen-shot is for the WebVue client. Show picture
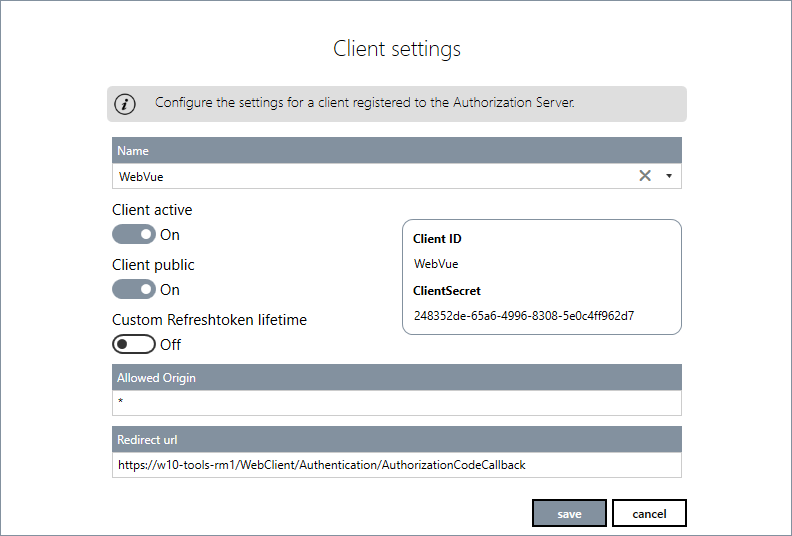
The settings and commands are the same as for the New Client view. See above.
Tokens view
Manage the tokens, issued by the OAuth service, and used by web & mobile applications to handle user sessions. Show picture
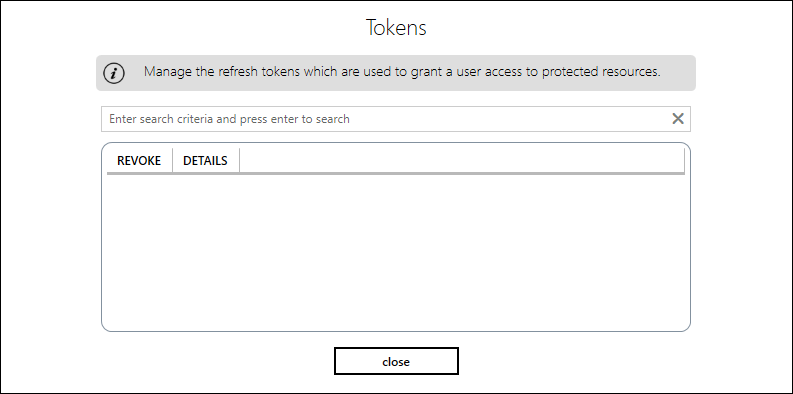
- Token list - Valid tokens are displayed in a list including the following information
- USERNAME - For WebVue, TouchVue, SnapVue and the WebScheduler, the name of the user that started the session that first generated the token.
- CLIENTID - The identity of the Web or Mobile application for which the token was generated. For example, WebVue.
- EXPIRES - The token expiry time. If using the default settings this is seven days (10080 minutes) after the time it was issued.
- ISSUED - The time at which the token was issued.
- Details - Details of the selected token.
- Revoke - Click to revoke the selected token. The session for which the token was issued is immediately disconnected without notice. If a user was actively using the web or mobile application, he/she will have to log in again.
Grants view
Manage the grants, given by a user to a web or mobile client application, to access a web service in his/her name. Show picture
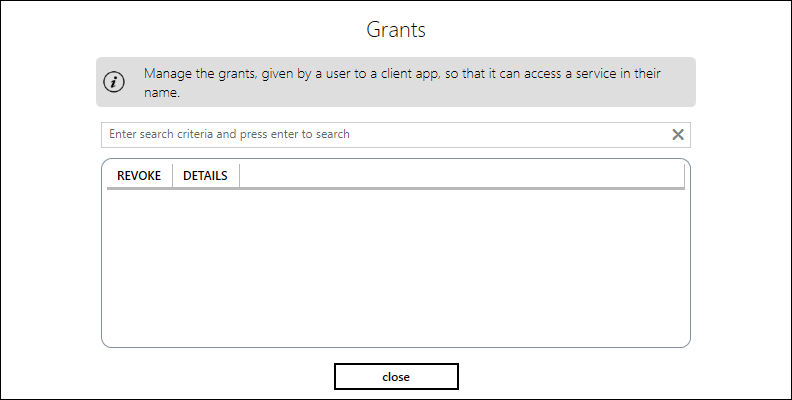
- Grants list - The valid grants are displayed in a list including the following information
- USER - For WebVue, TouchVue, SnapVue and the WebScheduler, the name of the user that started the session that accepted the grant.
- CLIENT - The identity of the Web or Mobile application to which the grant was given. For example, WebVue.
- SCOPE - The web service to which the grant authorize access in the name of the user.
- ISSUED - The time at which the grant was given. There is no expiry time as grants have an unlimited lifetime.
- Details - Details of the selected grant.
- Revoke - Click to revoke the selected grant. If a grant is revoked, the next time the user uses the web or mobile application, he/she will be asked to grant again access to the web service in his/her name.
How to generate a QR code
The QR code generation feature allows you to quickly test connection to the server from mobile apps like TouchVue and SnapVue. It provides a scannable code embedding essential connection details, the server host and port. After deploying a website, you can generate a QR code for easy app setup, with options to export or copy the code for flexible sharing and distribution to app users.
Prerequisites
- You have deployed a web site with the WDC.
- Open the WDC and navigate to the Web servers tab. Previously created sites are displayed here.
- Select the site for which you'd like to create a QR code.
- Select Generate QR code in the Authorization pane. The Generate QR Code dialog opens. Show picture
- Select the host from the drop-down list containing all available bindings. The associated port is included as part of the selected binding. The Alias defaults to the website's alias but can be modified.
- (Optional) Toggle on the Ignore certificate errors property if you want the app to bypass certificate checks during the connection process. This can be useful for testing or for connections where certificates may not meet standard validation requirements, such as self-signed certificates.
- (Optional) Toggle on the Readonly property to generate a QR code that configures apps in read-only mode. In this mode, apps will restrict access to viewing data without permissions to modify or interact with controls.
- Click Close once you are done.
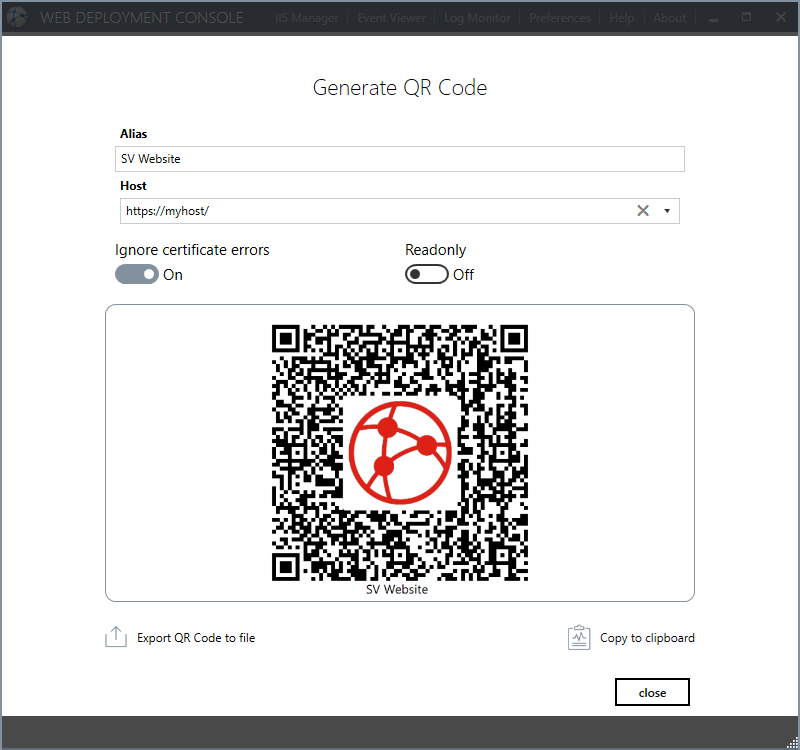
You can export the QR code as an image file as well as copy it to clipboard.